Plant
Planting bare root or cell grown plants is a straightforward task, however, do not attempt to plant if the ground is frozen or waterlogged. Find a suitable position for your plants, bearing in mind future growth and potential height and spread at maturity.
Bare rooted or cell grown plants can be ‘notch’ planted in 3 steps:
1. Begin by inserting the blade of a spade into the ground. Push the spade handle away from you and then bring it back towards you. Once you remove the spade, you will see that you have created a cavity or ‘notch’ in the ground.
2. For bare root - place the plant roots within the cavity and shake to ensure that all of the roots are in the cavity and pointing downwards.
For cell grown – place the cell gently into the ground. Ensure the top of the plug (the soil surrounding the roots) is positioned at 2 to 4cm below the surface to avoid drying out.
3. Fill the cavity with soil. Use your heel to firm the soil around the plant to remove any air pockets. Once planted, give them a good water if practical to do so.
You are now ready to install your support and protection.
Support
1. After planting, position the cane on the windward side between 2cm to 5cm from the base of the plant if there are strong prevailing winds. This means the cane will hold the Bio Wrap up rather than the plant.
2. Push or hammer the cane into the ground with a stake driver or mallet (ideally knocking 1/3 of its height into the ground). Ensure it is vertical (particularly important on sloping ground). The top of the cane should be above the top rim of the Bio Wrap.
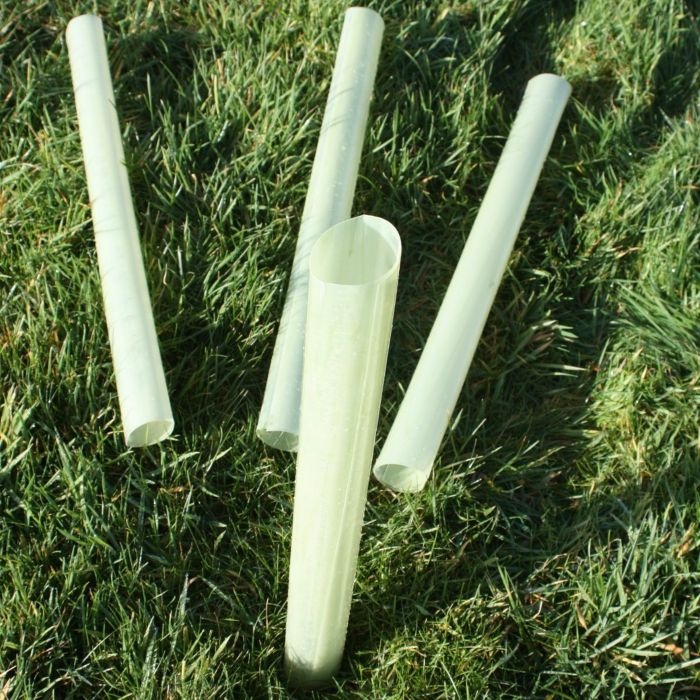
Protect
1. Position the Bio Wrap over the tree and the cane (see below image), making sure not to damage any lateral branches.
2. Push the Bio Wrap into the ground 1cm to 2cm. This forms a safe herbicide barrier and deters vermin from burrowing under the shelter.
3. At the end of its useful life (typically 3+ years) either remove the Bio Wrap for industrial composting, recycling or for energy from waste.